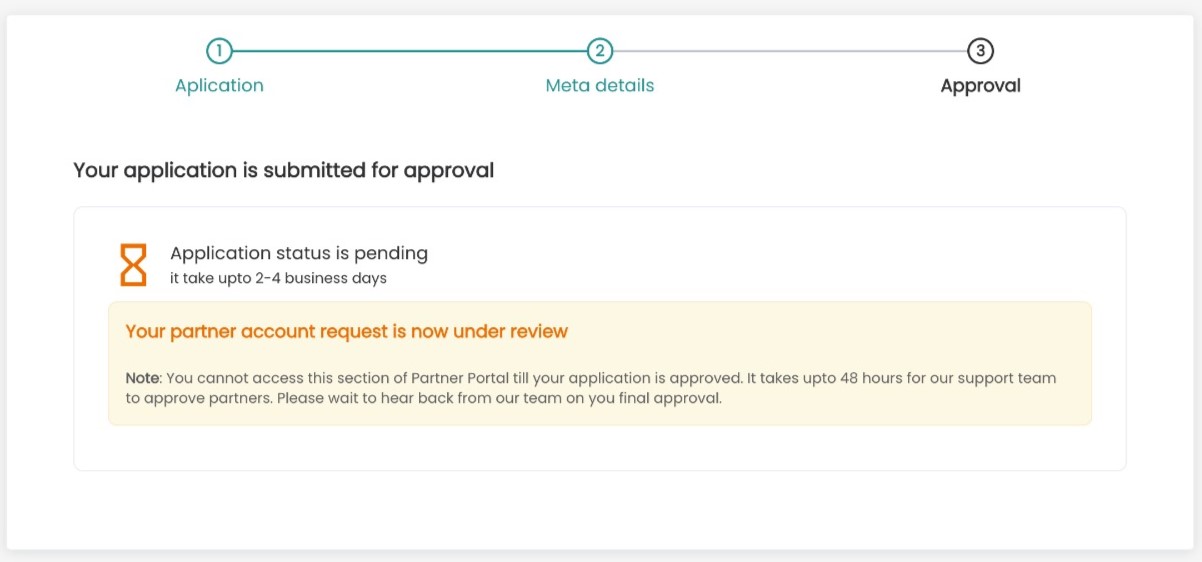
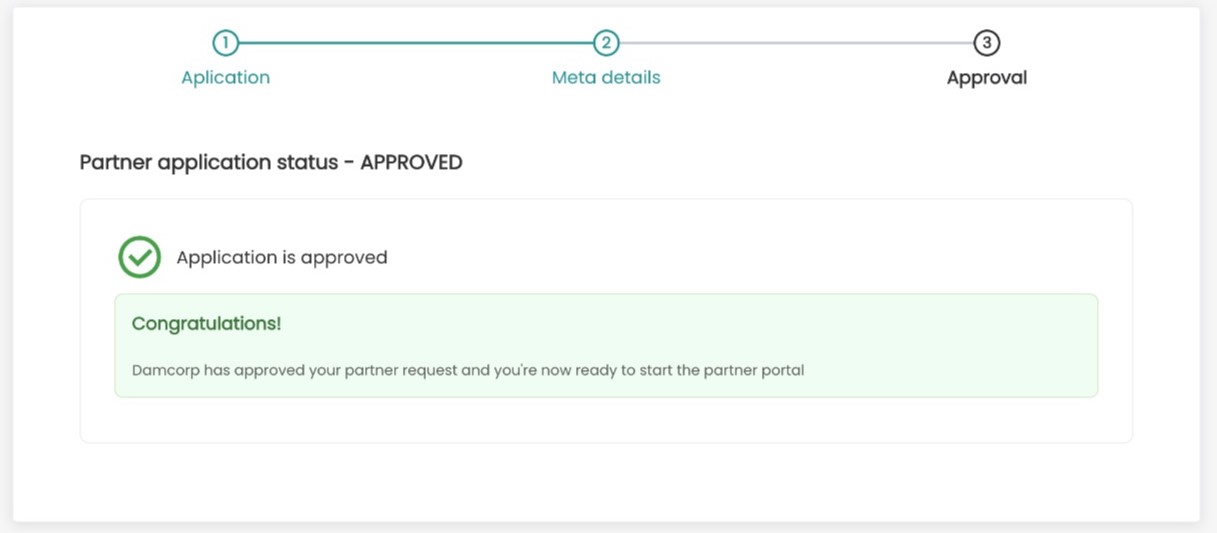
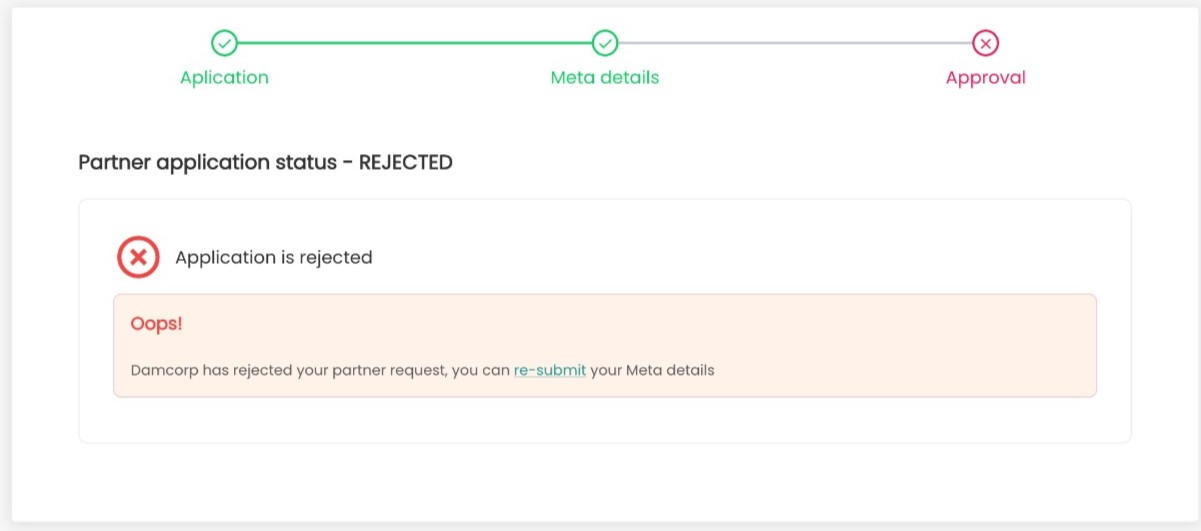
Step 1 : Create a Meta Business Account
Create or use an existing Meta Business Account to ensure all the necessary business details (address, website, email, etc.) are provided during the verification process.
Note
- Your business is limited to a maximum of two Meta Business Accounts.
- Make sure all information is accurate to avoid rejection during business verification. Onboarding WhatsApp services may fail if your business account is not in good standing with Meta.
Step 2 : Create a Meta App
Navigate to My Apps panel, create a new business app, and connect it to your Meta Business Account. Alternatively, if you have an existing app, you can directly link it to your Meta Business Account by loading it in the App Dashboard and skipping to step 3.

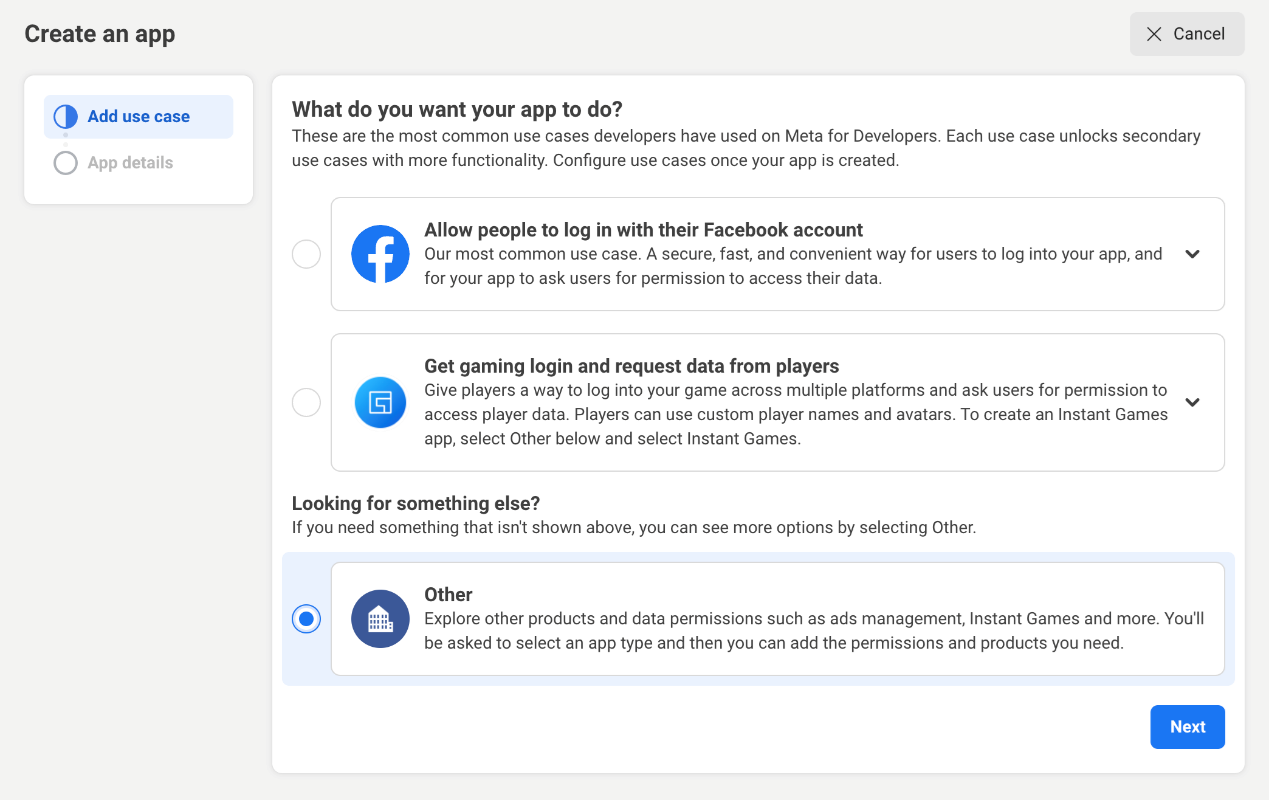
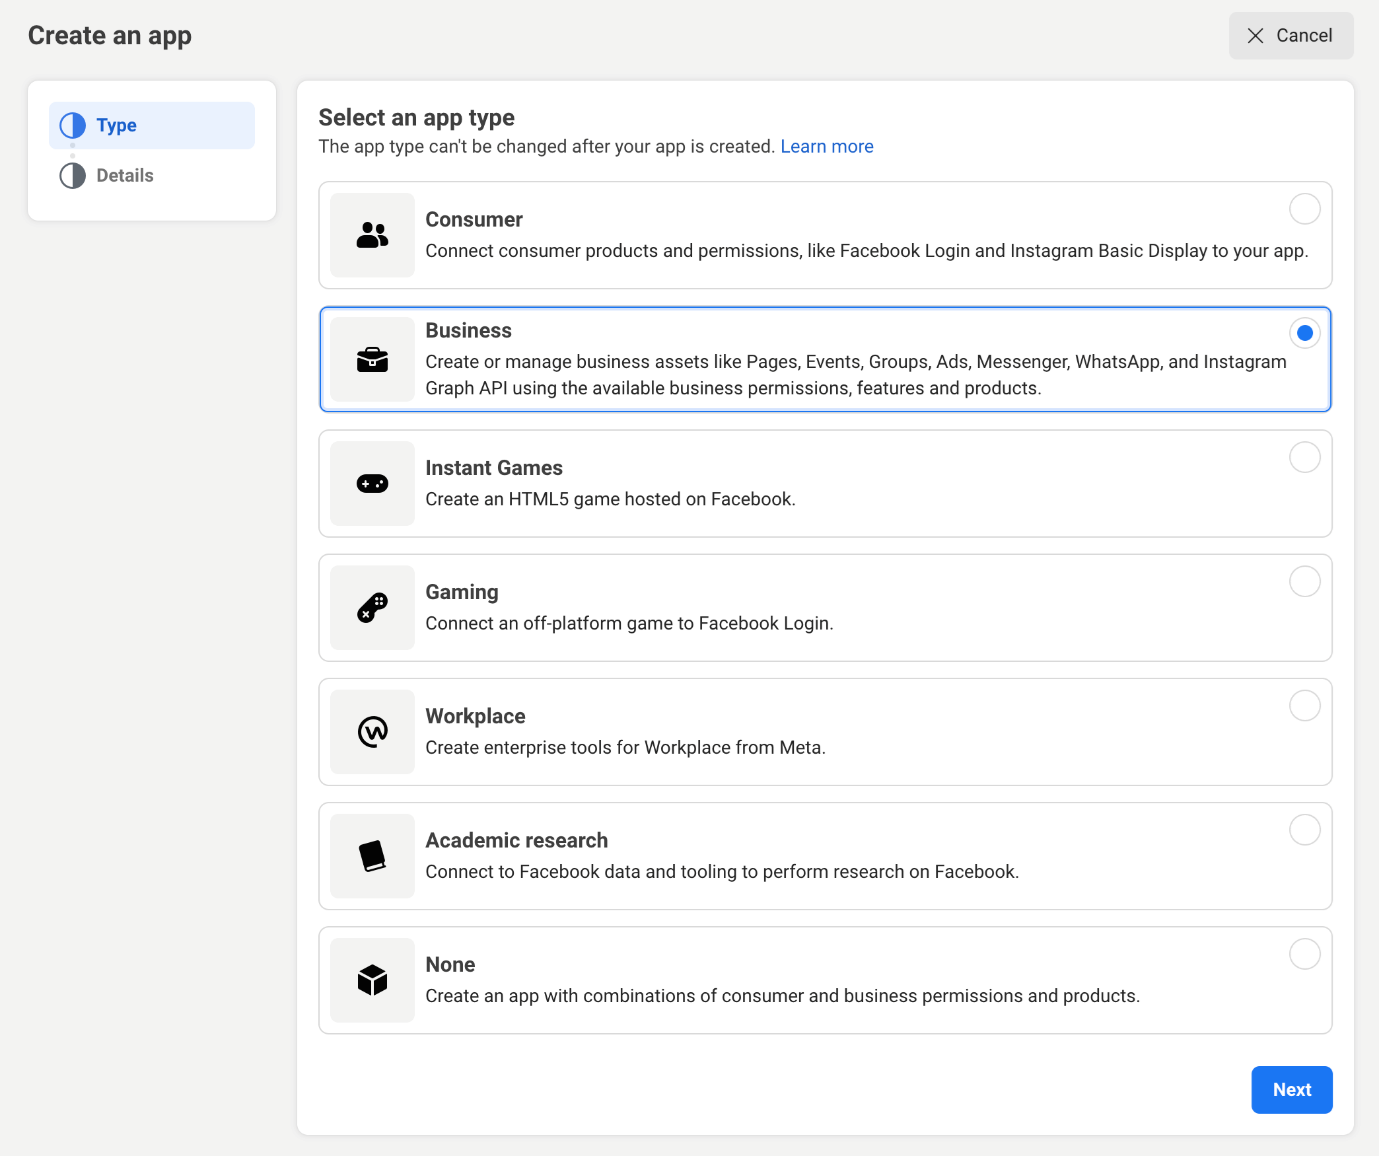
Fill in the necessary information and select the Business Account from the dropdown. If you are unable to move past this step, try setting the Business Account dropdown menu to No Business Manager account selected and proceed. You can set it up later.
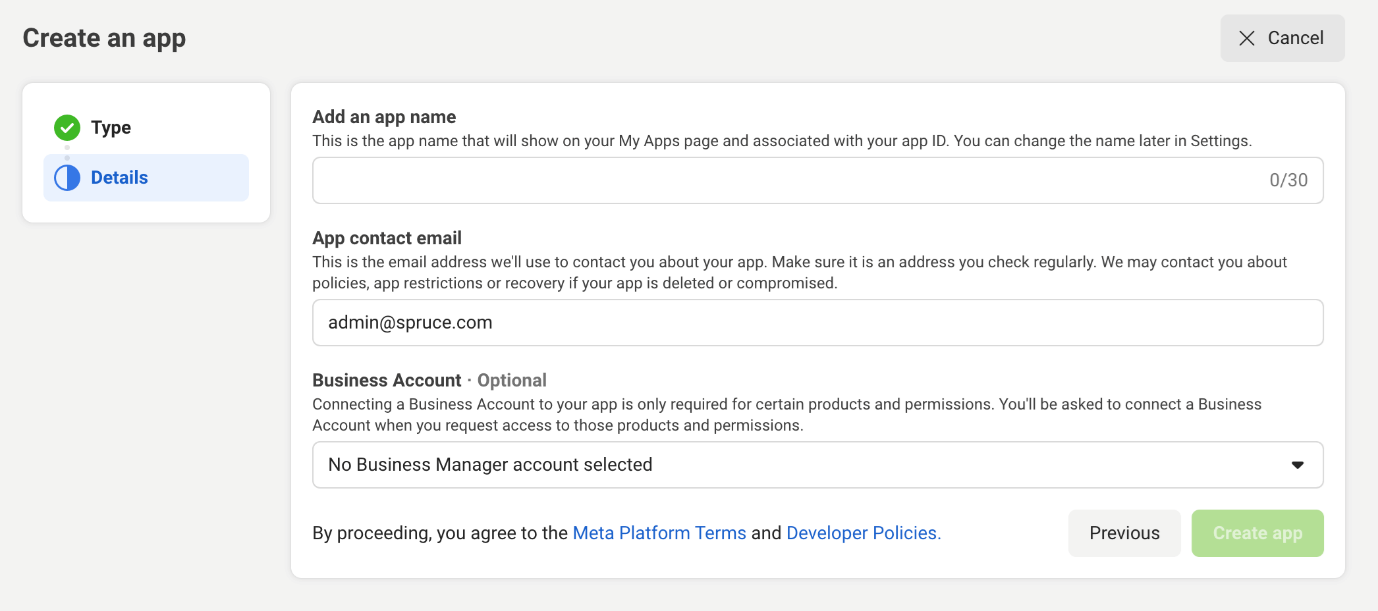
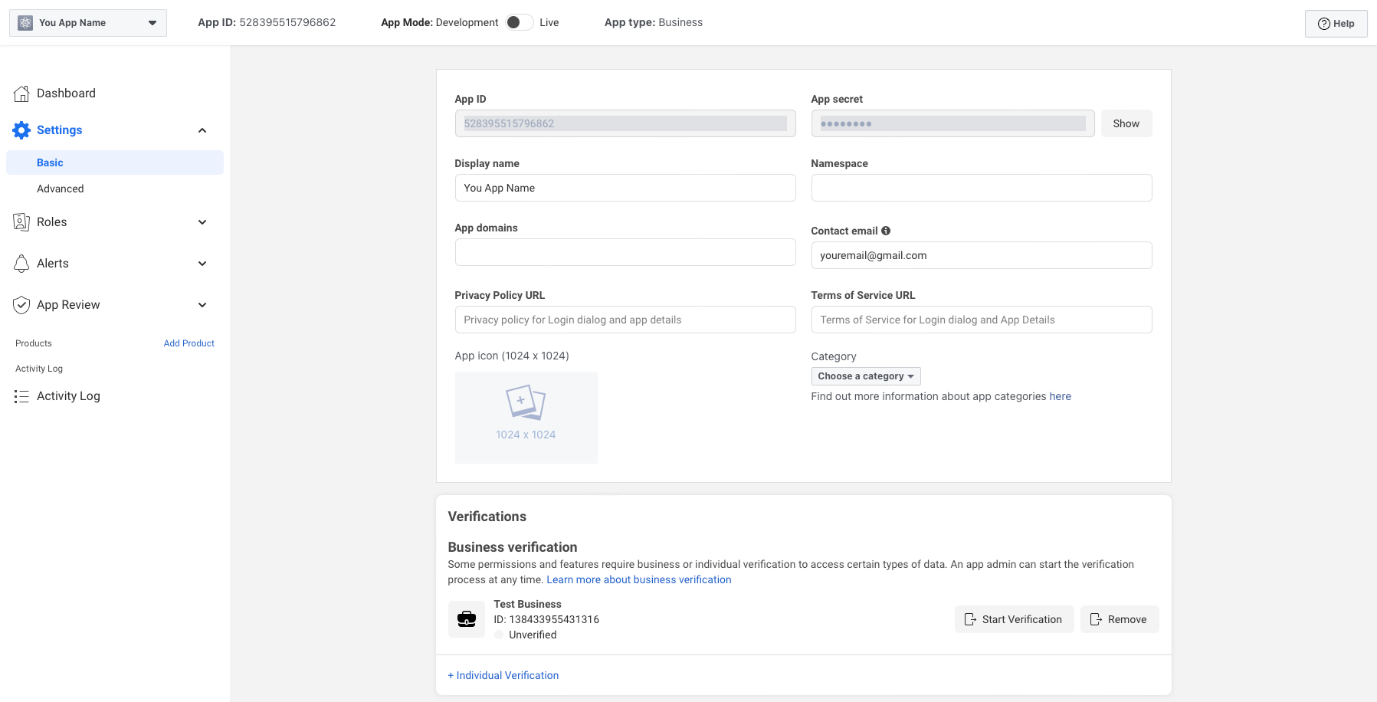
Step 3: Add the WhatsApp Product
From your App Dashboard, add the WhatsApp product.
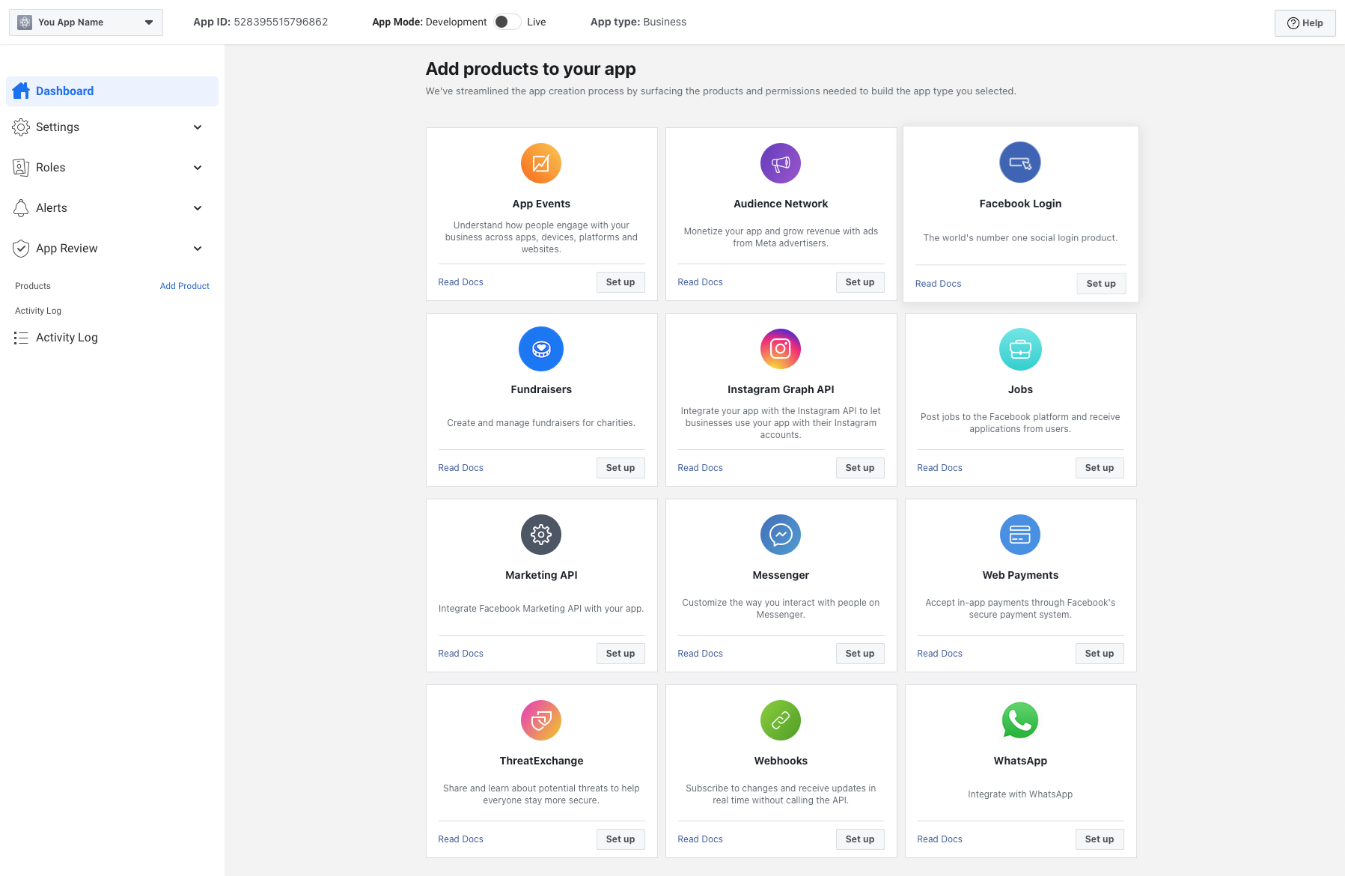
You will get redirected to choose your business account (if not selected previously) and agree to the Facebook and Meta Hosting Terms to continue.
Ensure you agree to Meta’s Tech Provider Terms of Service by clicking the Start Onboarding button in the App Dashboard > WhatsApp > Quickstart product panel when you add the WhatsApp product to your app.

In case you have added the product to your app and didn't accept the terms, you must return to Quickstart to accept the terms.
Step 4: Initiating Solution Request
Contact your Damcorp Partnership and work together to determine:
- A solution name. The solution name should be agreed upon by both you and Damcorp to ensure it is distinguishable from other solutions.
- Details needed for Initiating Solution Request Damcorp recommends that Tech Providers initiate the solution request with Damcorp app ID i.e. 1442761999158333
- Partner Portal Setup for Tech Provider Once you have an approved Solution ID, sign up as a partner on the Damcorp partner portal, providing your Solution ID
- Anything else, such as contracts, service level agreements, services provided, billing processes, etc. This decision will be made jointly by you and Damcorp based on your agreements with Meta.
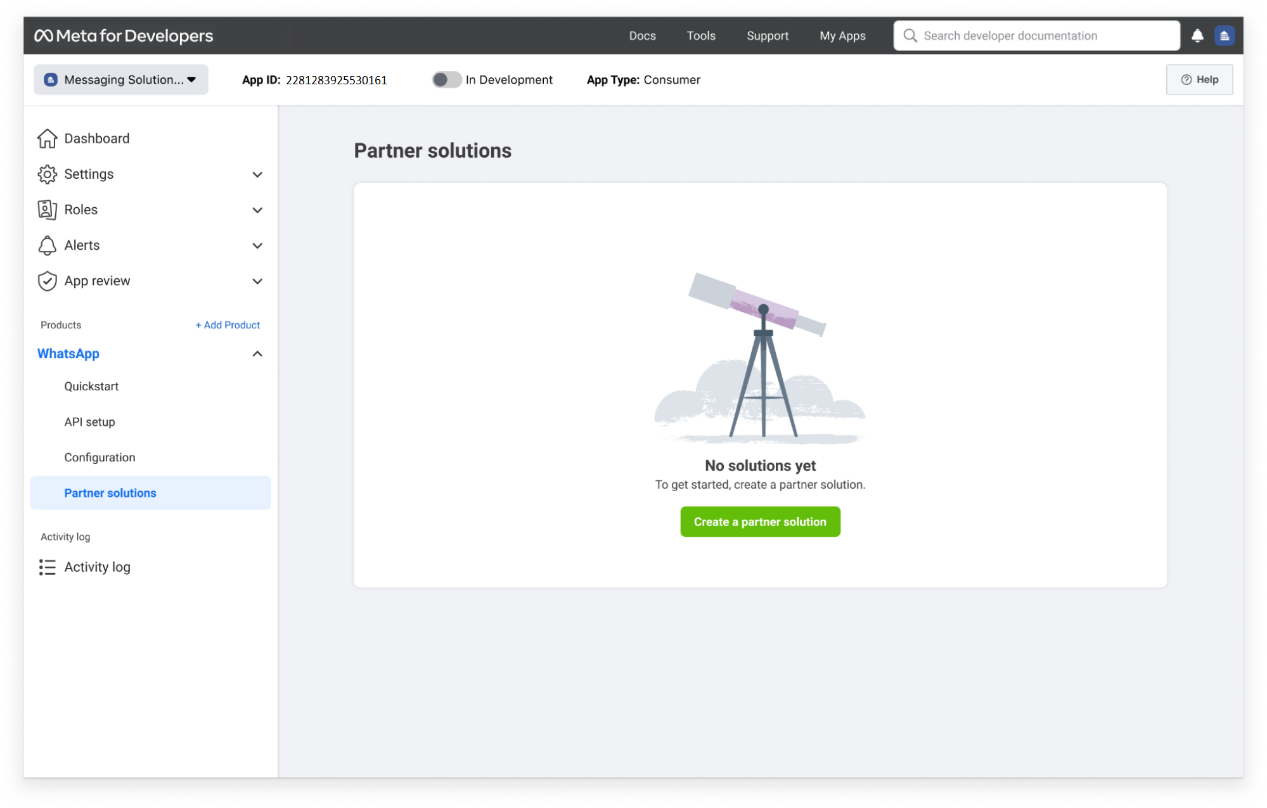
- Navigate to the App Dashboard > WhatsApp > Partner Solutions panel and click Create a partner solution button.
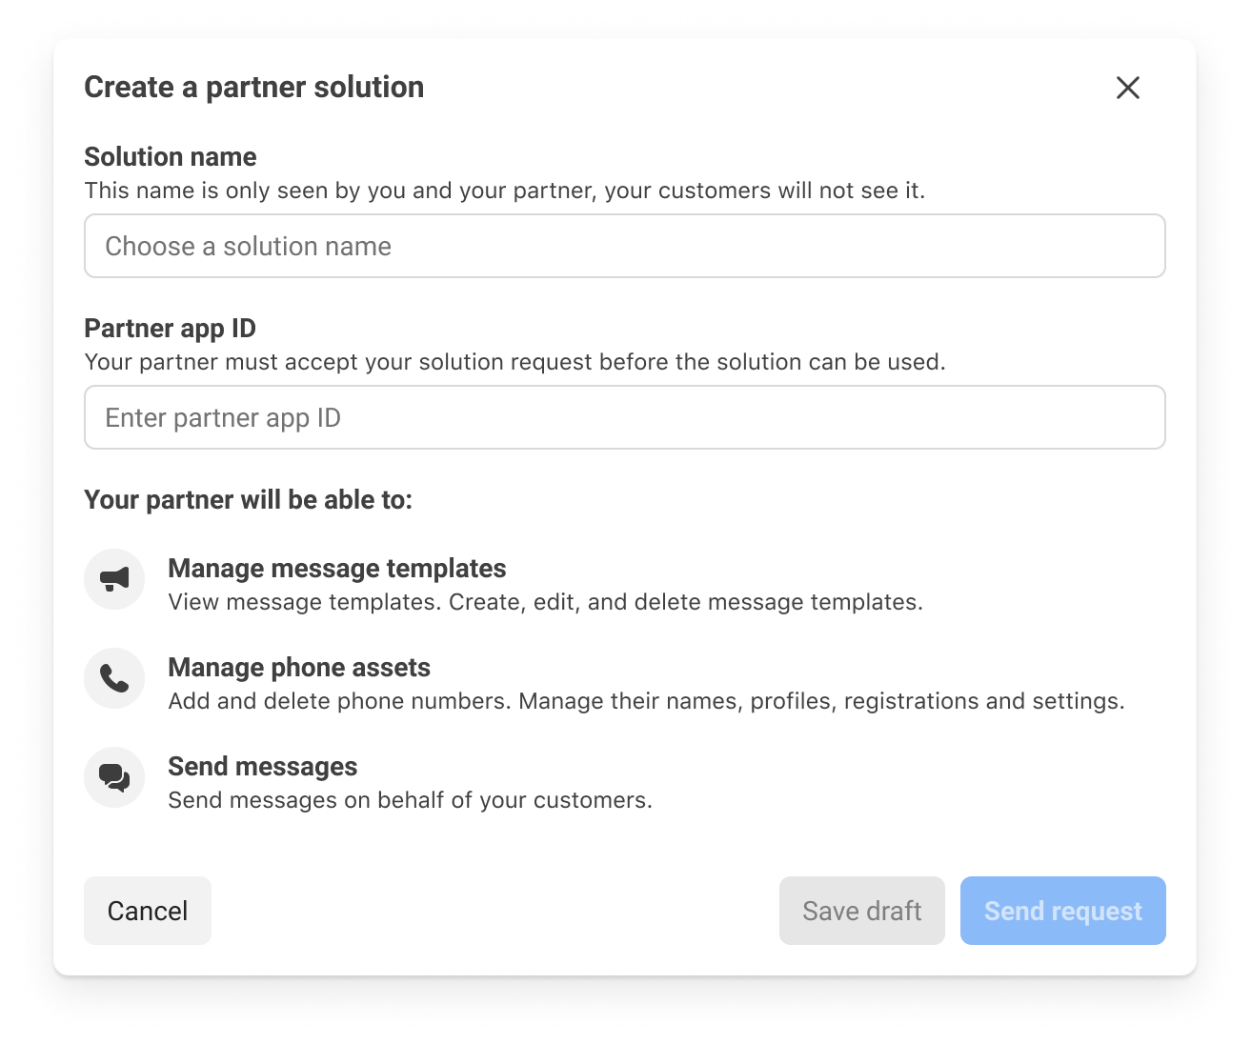
- Fill in the Solution name and Damcorp’s app ID (1442761999158333) in the partner app ID in the screen below.
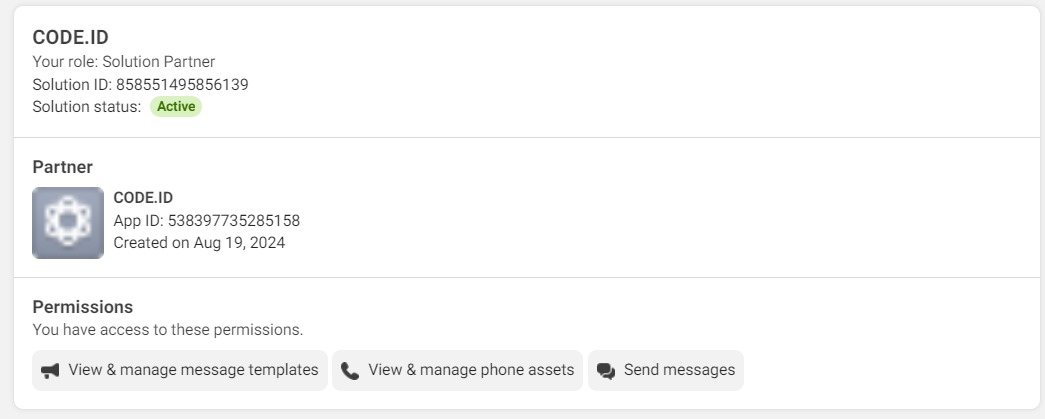
- The solution will be displayed in the solutions panel as Pending until Damcorp accepts it.
- Upon approval, the request will be designated as Active. Confirm with your Partnership that Damcorp has accepted the solution request (solution status must be Active in the Meta App Dashboard).
- In the event of rejection, the request will be marked as Inactive. In case Damcorp rejects your solution request, please reach out to your Partnership, understand the rejection reasons, and resubmit a fresh solution request, post addressing your rejection reasons.
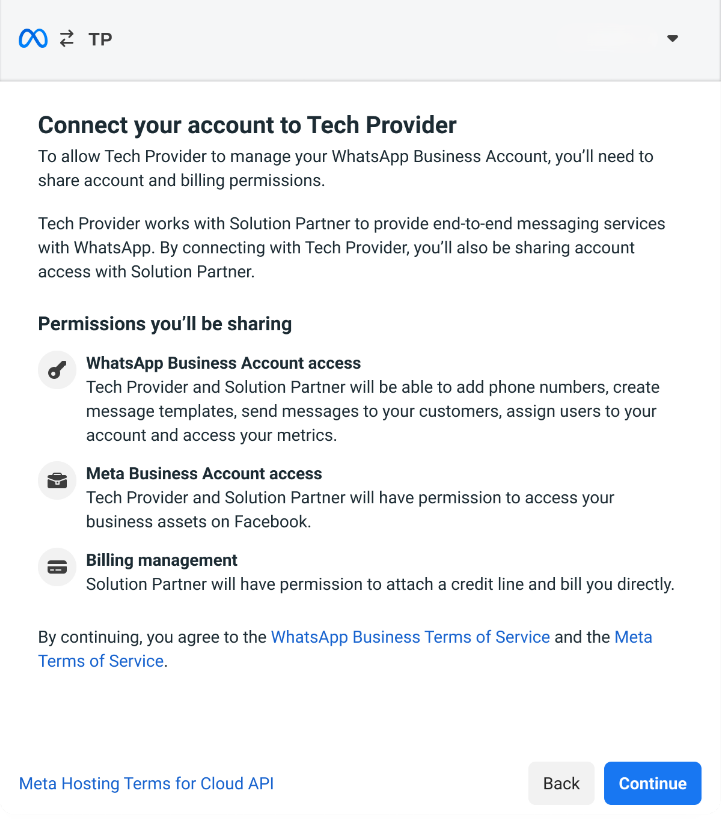
- Both you and Damcorp's Meta business account name (Business Settings > Business Info) will appear in the Embedded Signup flow.
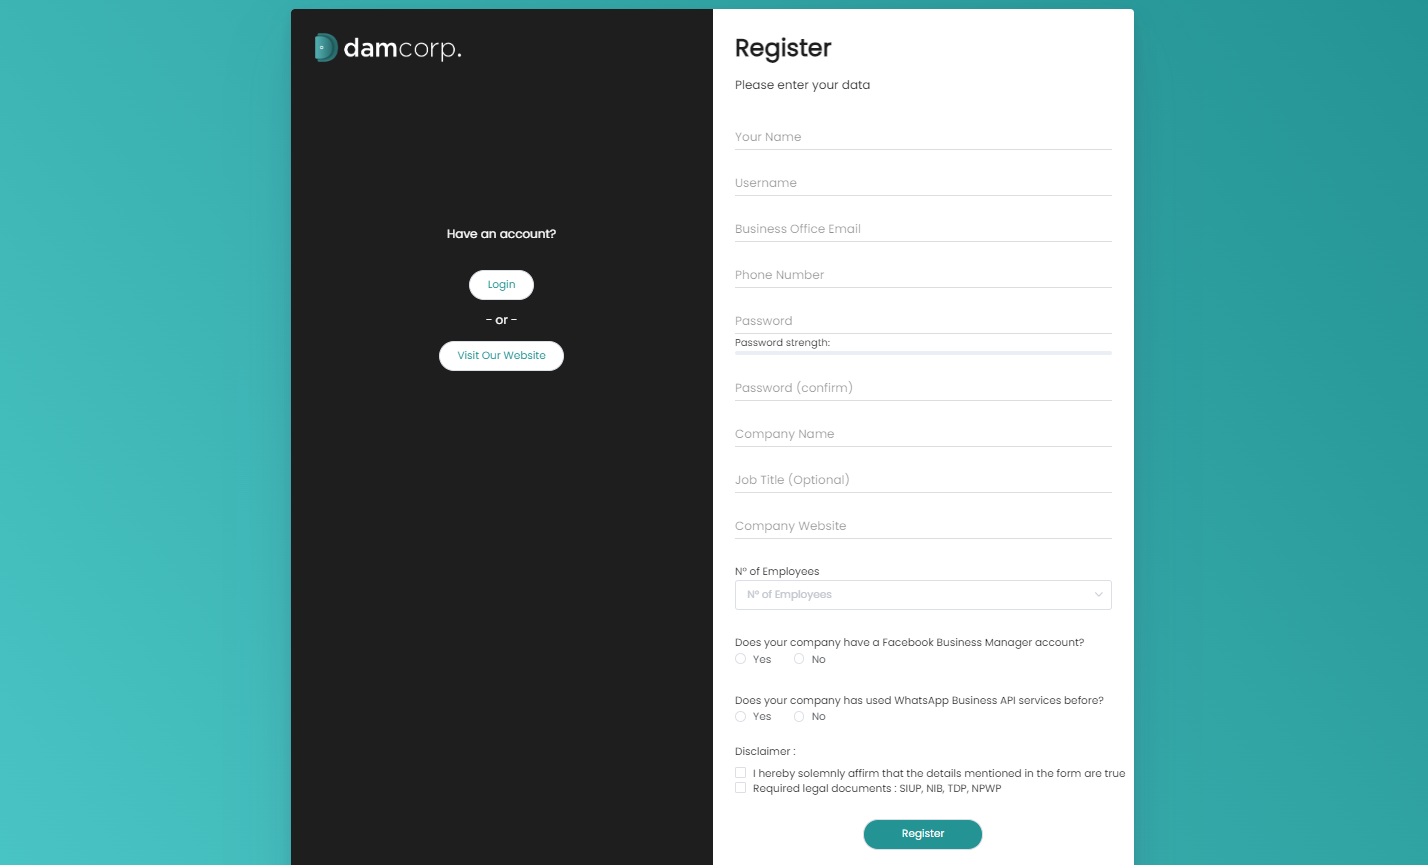
Once you have completed these steps on Meta’s App Manager, you can sign up for Damcorp partner on the Damcorp partner portal. Have your Solution ID, Solution Name, and other business details handy.
Damcorp Panel Setup Process
Understand step by step, how you can get onboarded as a Tech provider on the Damcorp Panel
Step 1: Partner Sign up


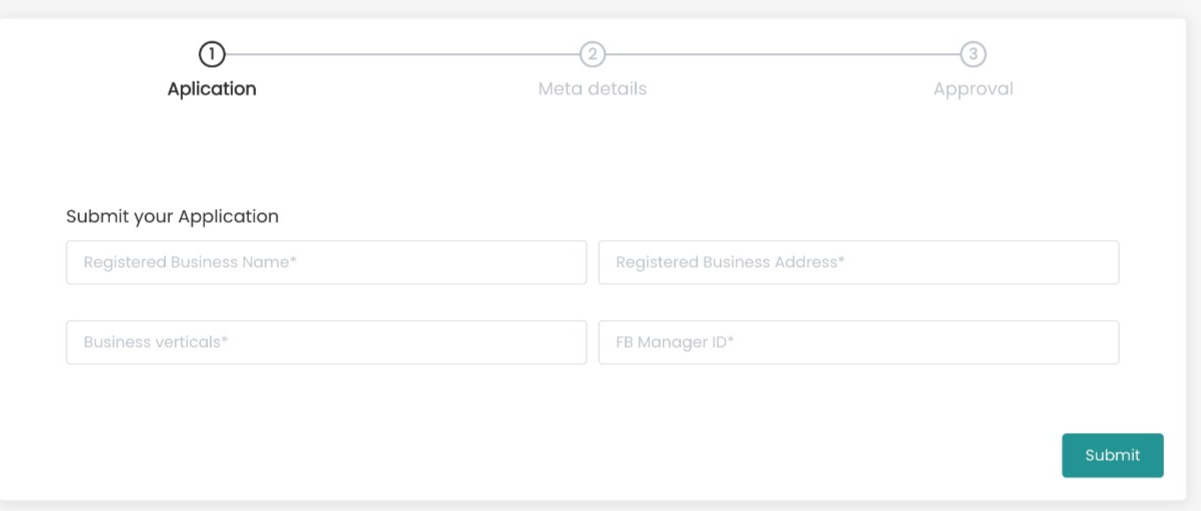
Step 2: Map Solution ID

Step 3: Partner Approval
